
How to Clean House: The Step-by-Step System for a Spotless Home
Walking into a cluttered, dusty living space after a grueling workday drains mental energy faster than almost anything else. Most people dread house cleaning not because the physical labor is impossible, but because it feels chaotic and endless. You wipe down a kitchen island, notice crumbs on the hardwood floor, grab a broom, spot smudges across the living room wall, and suddenly find yourself exhausted with three half-cleaned rooms and very little visible progress.
The secret to professional-grade results lies in shifting from sporadic panic cleaning to an intentional, order-of-operations method. Whether you are living in a compact downtown rental apartment or maintaining a spacious family home, mastering how to clean house efficiently comes down to four fundamental principles: decluttering first, working from top to bottom, keeping dry tasks ahead of wet tasks, and allowing sanitizing formulas adequate dwell time. By following this systematic room-by-room blueprint, you can eliminate wasted motion, cut cleaning time in half, and protect valuable surfaces to preserve your full security deposit.
The 4 Core Principles of House Cleaning Efficiency
Before grabbing sponges or spraying multi-surface solution, adopting a strict sequence prevents you from undoing your own hard work:
- Declutter Before You Clean: Cleaning around clutter is an exercise in frustration. Put away misplaced shoes, papers, charging cables, and loose clothing before you wipe a single surface. Clearing horizontal planes gives you immediate uninhibited access to countertops, end tables, and flooring.
- Top-to-Bottom, Left-to-Right: Dust and loose debris obey the laws of physics. Always clean high areas first—ceiling fans, crown moldings, upper cabinet tops, and light fixtures—before touching furniture and baseboards. Floors are always the very last step. Moving left-to-right around a room guarantees no section gets overlooked.
- Dry Methods Before Wet Methods: Never spray a liquid cleaner on a dusty surface. Liquid transforms dry dust into a sticky, abrasive slurry that streaks across paint and settles into wood grain. Vacuum, dry-dust, or sweep away particulate matter before introducing damp microfiber cloths or cleaning sprays.
- Respect Product Dwell Time: Disinfectants and degreasers are formulated with chemical agents that require active contact time—often three to ten minutes—to dissolve grease and neutralize bacteria. Spray bathroom fixtures and stovetops first, let the solution work chemically, and then wipe effortlessly without harsh scrubbing.
The Essential Cleaning Toolkit: Supplies & Surface Matrix
Professional cleaners keep all their essential tools organized in a single portable caddy. Carrying your caddy from room to room eliminates wasted trips across the house. Here is what belongs in a high-efficiency cleaning kit:
| Tool / Cleaner | Best Surface Applications | Pro Technique & Caution |
|---|---|---|
| Microfiber Cloths | Counters, glass, wood, appliances | Color-code: blue for glass, yellow for dusting, red for bathrooms. |
| Plant-Based All-Purpose Spray | Laminate, finished wood, sealed quartz | Avoid ammonia on acrylic finishes; wipe with grain on wood. |
| Baking Soda Paste | Sinks, stainless steel, greasy ovens | Non-abrasive natural scrubber; neutralize with dilute vinegar. |
| Melamine Sponge (Magic Eraser) | Shoe scuffs, baseboards, switch plates | Dampen and use light pressure to avoid burnishing matte paint. |
| Extendable Microfiber Duster | Ceiling fans, tall door frames, blinds | Electrostatic charge traps dust without scattering allergens. |
| Microfiber Mop & Vacuum | Hardwood, luxury vinyl plank, tile | Dry vacuum thoroughly along perimeter edges before damp mopping. |
Room-by-Room Deep Cleaning Guide
1. The Kitchen: Degreasing and Sanitizing the Hub
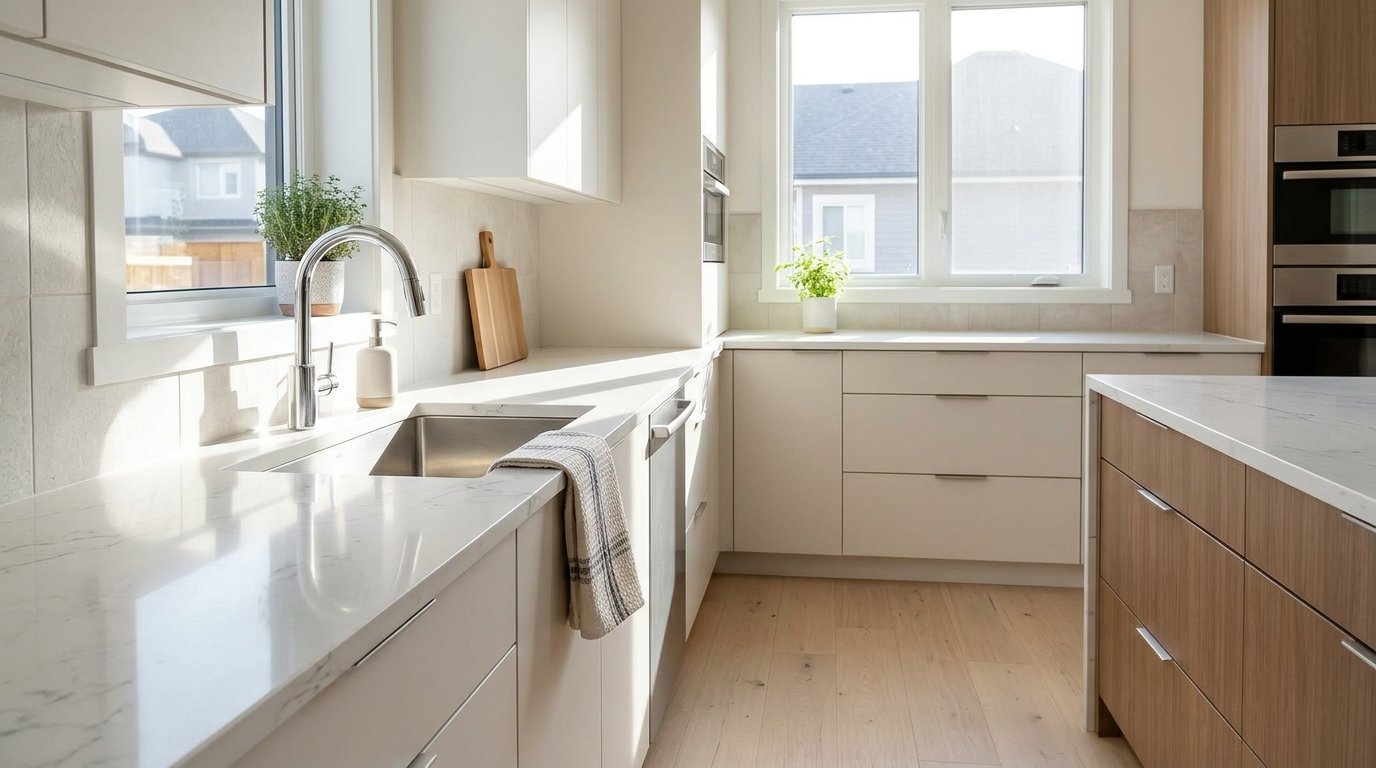
Because the kitchen combines airborne cooking oils, food splatters, and high moisture, it requires a dedicated degreasing workflow. Start by clearing everything off the countertops—small appliances, cutting boards, and dish drying racks. Fill your sink with hot water and dish soap to soak microwave turntables, stove burner grates, and sponge trays.
Tackle upper cabinets and backsplashes next with a mild degreaser or diluted dish soap. For the microwave, place a microwave-safe bowl containing one cup of water and two tablespoons of lemon juice or white vinegar inside, microwave on high for three minutes, and keep the door closed for five minutes. The trapped steam loosens caked-on sauce splatters so they wipe away effortlessly. Finish the kitchen by scrubbing the sink basin with baking soda, polishing the stainless steel faucet to a mirror finish, and sweeping under the refrigerator toe-kick.
2. The Bathroom: Dissolving Soap Scum and Bacteria
Bathrooms require chemistry over physical force. Begin by applying toilet bowl disinfectant under the rim and spraying tile surround walls, glass shower doors, and the bathtub with a foaming soap scum remover. Allow the products to dwell while you dust exhaust vents, wipe down vanity mirrors with a waffle-weave microfiber cloth, and empty the trash bin. Return to scrub the shower tile with a stiff nylon brush, rinse down with warm water, and scrub the toilet bowl thoroughly. Wipe down the toilet tank, flusher handle, seat hinges, and porcelain base with disinfectant wipes before mopping the floor from the farthest corner out the doorway.
3. Living Rooms and Bedrooms: Allergen Reduction & Fabric Care
Living rooms and bedrooms harbor microscopic dust mites, pet dander, and dead skin cells. Strip sheets and pillowcases to wash on a warm sanitize cycle. While the mattress is bare, sprinkle a light layer of baking soda across the surface, let it absorb moisture and ambient odors for thirty minutes, and vacuum it with an upholstery attachment. In the living room, remove sofa cushions to vacuum deep within the crevices where crumbs migrate. Dust television screens and sensitive monitors exclusively with a completely dry microfiber cloth—never spray window cleaner or water directly on LED or OLED panels. Vacuum area rugs in overlapping diagonal passes, and don’t hesitate to rearrange lighter furniture slightly to catch dust bunnies along baseboards.
4. Walls, Doors, and Trim: Protecting Finishes and Security Deposits
Walls accumulate scuffs from shoes, furniture vibrations, and sticky fingerprints that become glaringly visible during move-out inspections. However, aggressive scrubbing with abrasive detergents can strip drywall finishes and burnish flat paint. To avoid costly deductions on your rental deposit, learn how to clean apartment walls without ruining the paint using a two-bucket method and mild dish soap. Always perform an inconspicuous spot test behind a bedroom door before tackling prominent wall areas, and pair clean baseboards with damage-free apartment decorating ideas to prevent unsightly hanging marks.
The 15-Minute Daily Reset: Keep Your Home Clean Without Weekend Burnout
The primary reason deep cleaning feels insurmountable is that weeks of minor clutter compound into massive chores. Implementing a simple 15-minute nightly reset routine keeps entropy in check and preserves your weekend freedom:
The “Sink Zero” Rule: Never go to sleep with dirty dishes sitting in the sink. Load the dishwasher or wash cookware immediately so you wake up to a pristine, functional prep space every morning.
The 5-Minute Laundry Basket Sweep: Walk through the apartment with a laundry hamper or catch-all basket, collecting misplaced books, mail, remotes, and throw blankets, returning them immediately to their designated storage zones.
The Touch-It-Once Policy: When you bring mail inside, sort bills and recycle junk immediately. When you take off your jacket, hang it up rather than draping it across the dining room chair.
Frequently Asked Questions About House Cleaning
Q: What is the single most efficient order to clean a house?
Always clean dry tasks before wet tasks, and work from top to bottom. Start by decluttering, dusting ceiling fans and high shelves, wiping mid-level counters and tables, and finish by vacuuming and damp-mopping floors last so fallen dust is captured in a single pass.
Q: How often should you deep clean compared to routine cleaning?
Routine maintenance (wiping counters, sweeping high-traffic floors, washing dishes) should be done daily or weekly. Deep cleaning tasks—such as washing windows, descaling shower heads, moving heavy appliances, and vacuuming mattresses—are typically completed once every month or quarterly.
Q: Can renters use bleach or harsh chemicals for move-out cleaning?
It is generally best to avoid harsh bleach or ammonia on painted walls, laminate countertops, and rental fixtures. Overly corrosive chemicals can dissolve latex paint, pit chrome faucets, and strip protective sealant from luxury vinyl tile, leading to deposit deductions. Mild dish soap, white vinegar, and baking soda solve 95% of household stains safely.